How to Grow Plants from Seeds without Stress
There’s something a little daunting about growing plants from seeds. Cuttings are doable. Baby plants that grow into adult ones are easy enough to handle. But seeds? It all just seems so technical, so serious; the kind of thing that can only be achieved by people who’ve spent their lives working the land.
Well, it’s not. In fact, learning how to grow plants from seeds is no different from learning how to grow plants in fabric pots, or learning how to garden in the winter, or learning how to cultivate succulents on your balcony. All you need to get going is the appropriate equipment and a few solid tips. So, here we go…

Tip 1: How to see if a seed is good
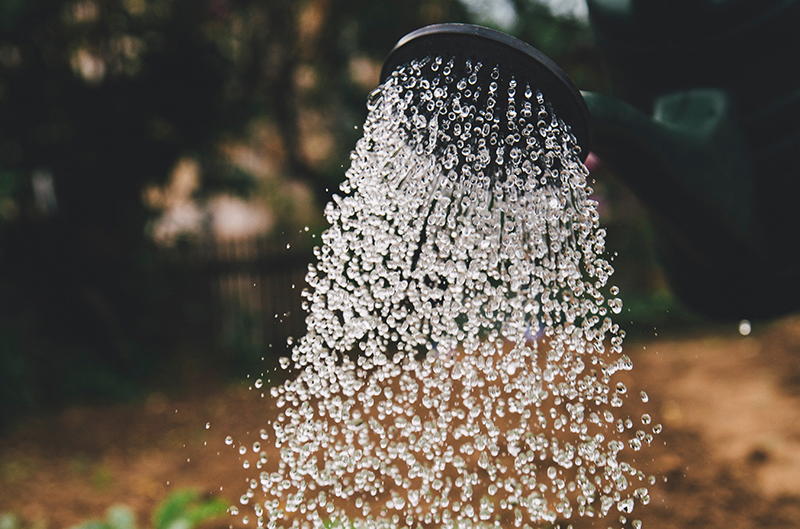
Naturally, not all seeds operate in exactly the same way, which means trying to offer a blanket way of testing the viability of your seed is fairly impossible. Having said that, there are of course many similarities between most seeds. Most seeds will respond to a quick water test. Simply leave your seeds sitting in a container of water for about 15 minutes and if they sink, then they’re good to go. But if you find them floating, then it’s doubtful anything will sprout. Just remember, don’t leave them in the water for any longer than 15 minutes, because you might end up causing some internal damage.
Another test you can run on any seed is the germination test. Take around 10 seeds from the batch you intend to plant. These 10 will act as a sample for the entire batch. Place the 10 seeds on a damp paper towel, fold it over to cover the seeds, and place the whole thing in a sealable plastic bag. Leave them somewhere warm for about 10 days, but avoid direct sunlight and keep checking on them every now and then to make sure the paper towel remains moist. Please note…”moist”, not “wet”. If at least half of your seeds begin to germinate within that time, then you can assume that the whole batch is ready for planting.
Tip 1b: Seeds for Weed
And what about cannabis seeds? As our Spring Pot range is particularly good for growing cannabis, we thought it might be helpful to focus specifically on how to see if a cannabis seed is ready to plant or ready to go nowhere. Soooo…
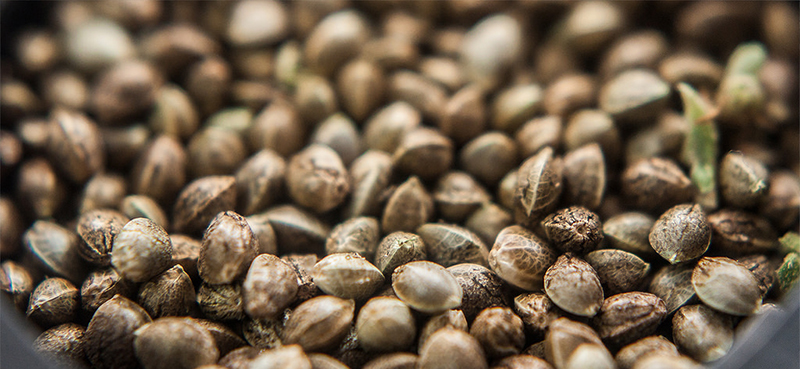
Healthy cannabis seeds are dark in color. We’re talking brown, black, or grey. They’re coated in a light waxy sheen, which makes them shine a little in the light. Their shells are pretty tough. If you squeeze one between your thumb and finger, it shouldn’t collapse or break. It should also be flawless… no cracks, no holes, no strange-looking marks. If we’ve described your seed, then you can be pretty sure you’re holding onto something you can grow.

Tip 2: When to plant
So, assuming that you’ve got a batch of healthy seeds to plant, the next thing to consider is when to start sowing. Working out when to plant your seeds is a VERY important part of the gardening process and it all stems from finding out the average date of the last spring frost in your area. Once you’ve got that date, and you know whether you need to begin by sowing indoors or outdoors, you can start to plan when you’ll actually begin.
Most seed packets will give advice on when to sow based on how many weeks before or after the last spring frost, but should you need some help, feel free to contact us. Listing the information for all plants, in all locations, is impossible, but we can certainly help on a case by case basis.
Tip 3: Watering, light, and heat
The three elements that all seeds need to be able to germinate are water, oxygen, and light. However, bear in mind that some seeds need more light and/or more heat than others. In fact, certain seeds will only germinate in the cold and the dark. Again, if you need a little help understanding the optimum conditions for your seeds, we’re here to help.
Your Sowing Guide: From start to finish
- Place some seed compost in your seedling pot or tray.
- Moisten the surface of the compost using a garden spray bottle.
- Sprinkle your seeds evenly on top.
- Cover and place somewhere warm.
- Once they begin to germinate, remove the cover.
- Transplant them and keep them in the shade.
- When you think they’re big and strong enough, transplant them again into their adult home.

Bonus Tip: The benefits of planting seeds in a spring pot
As mentioned earlier on in this post, one of the most difficult aspects of growing seeds is choosing when to sow. If sowing too early indoors, for example, the roots of your seedlings might get all tangled up before they even make it out into the garden because you’re waiting for the cold temperatures to pass before transplanting.
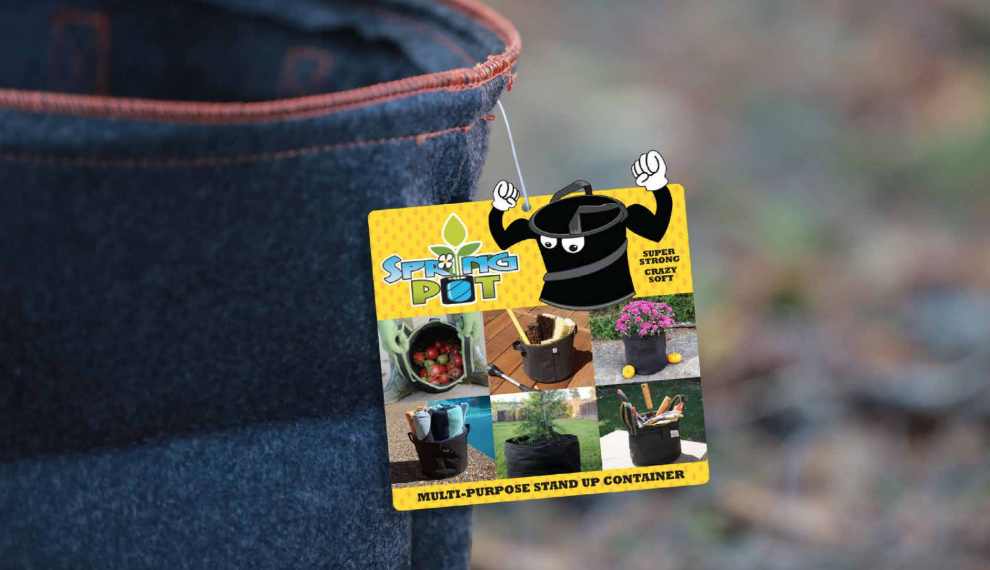
The good news is if you sew your seeds in a spring pot, you can rely on the natural process of air pruning to keep your seedlings’ roots in check if, for whatever reason, you have to delay the transplanting process. Clever and useful.


